

The MCP server is in public beta. It is open to use and still being refined, so tools and behavior may change.
Before you connect
Two things need to be true for the connection to work:- You have a GC AI account. The assistant acts as you, so you sign in with your own credentials.
- Your organization has the MCP server turned on. It is off by default. An org admin turns it on under Settings, API.
Add the server to your host
The steps differ slightly by host, but the shape is the same everywhere: point the host at the endpoint above, then complete the GC AI sign-in when prompted.- ChatGPT
- Claude
- Cursor
- Other clients
In a ChatGPT plan that supports connectors, add a new connector using the URL
https://app.gc.ai/api/mcp. ChatGPT walks you through the GC AI sign-in, then lists the GC AI tools. Enable the ones you want the assistant to use.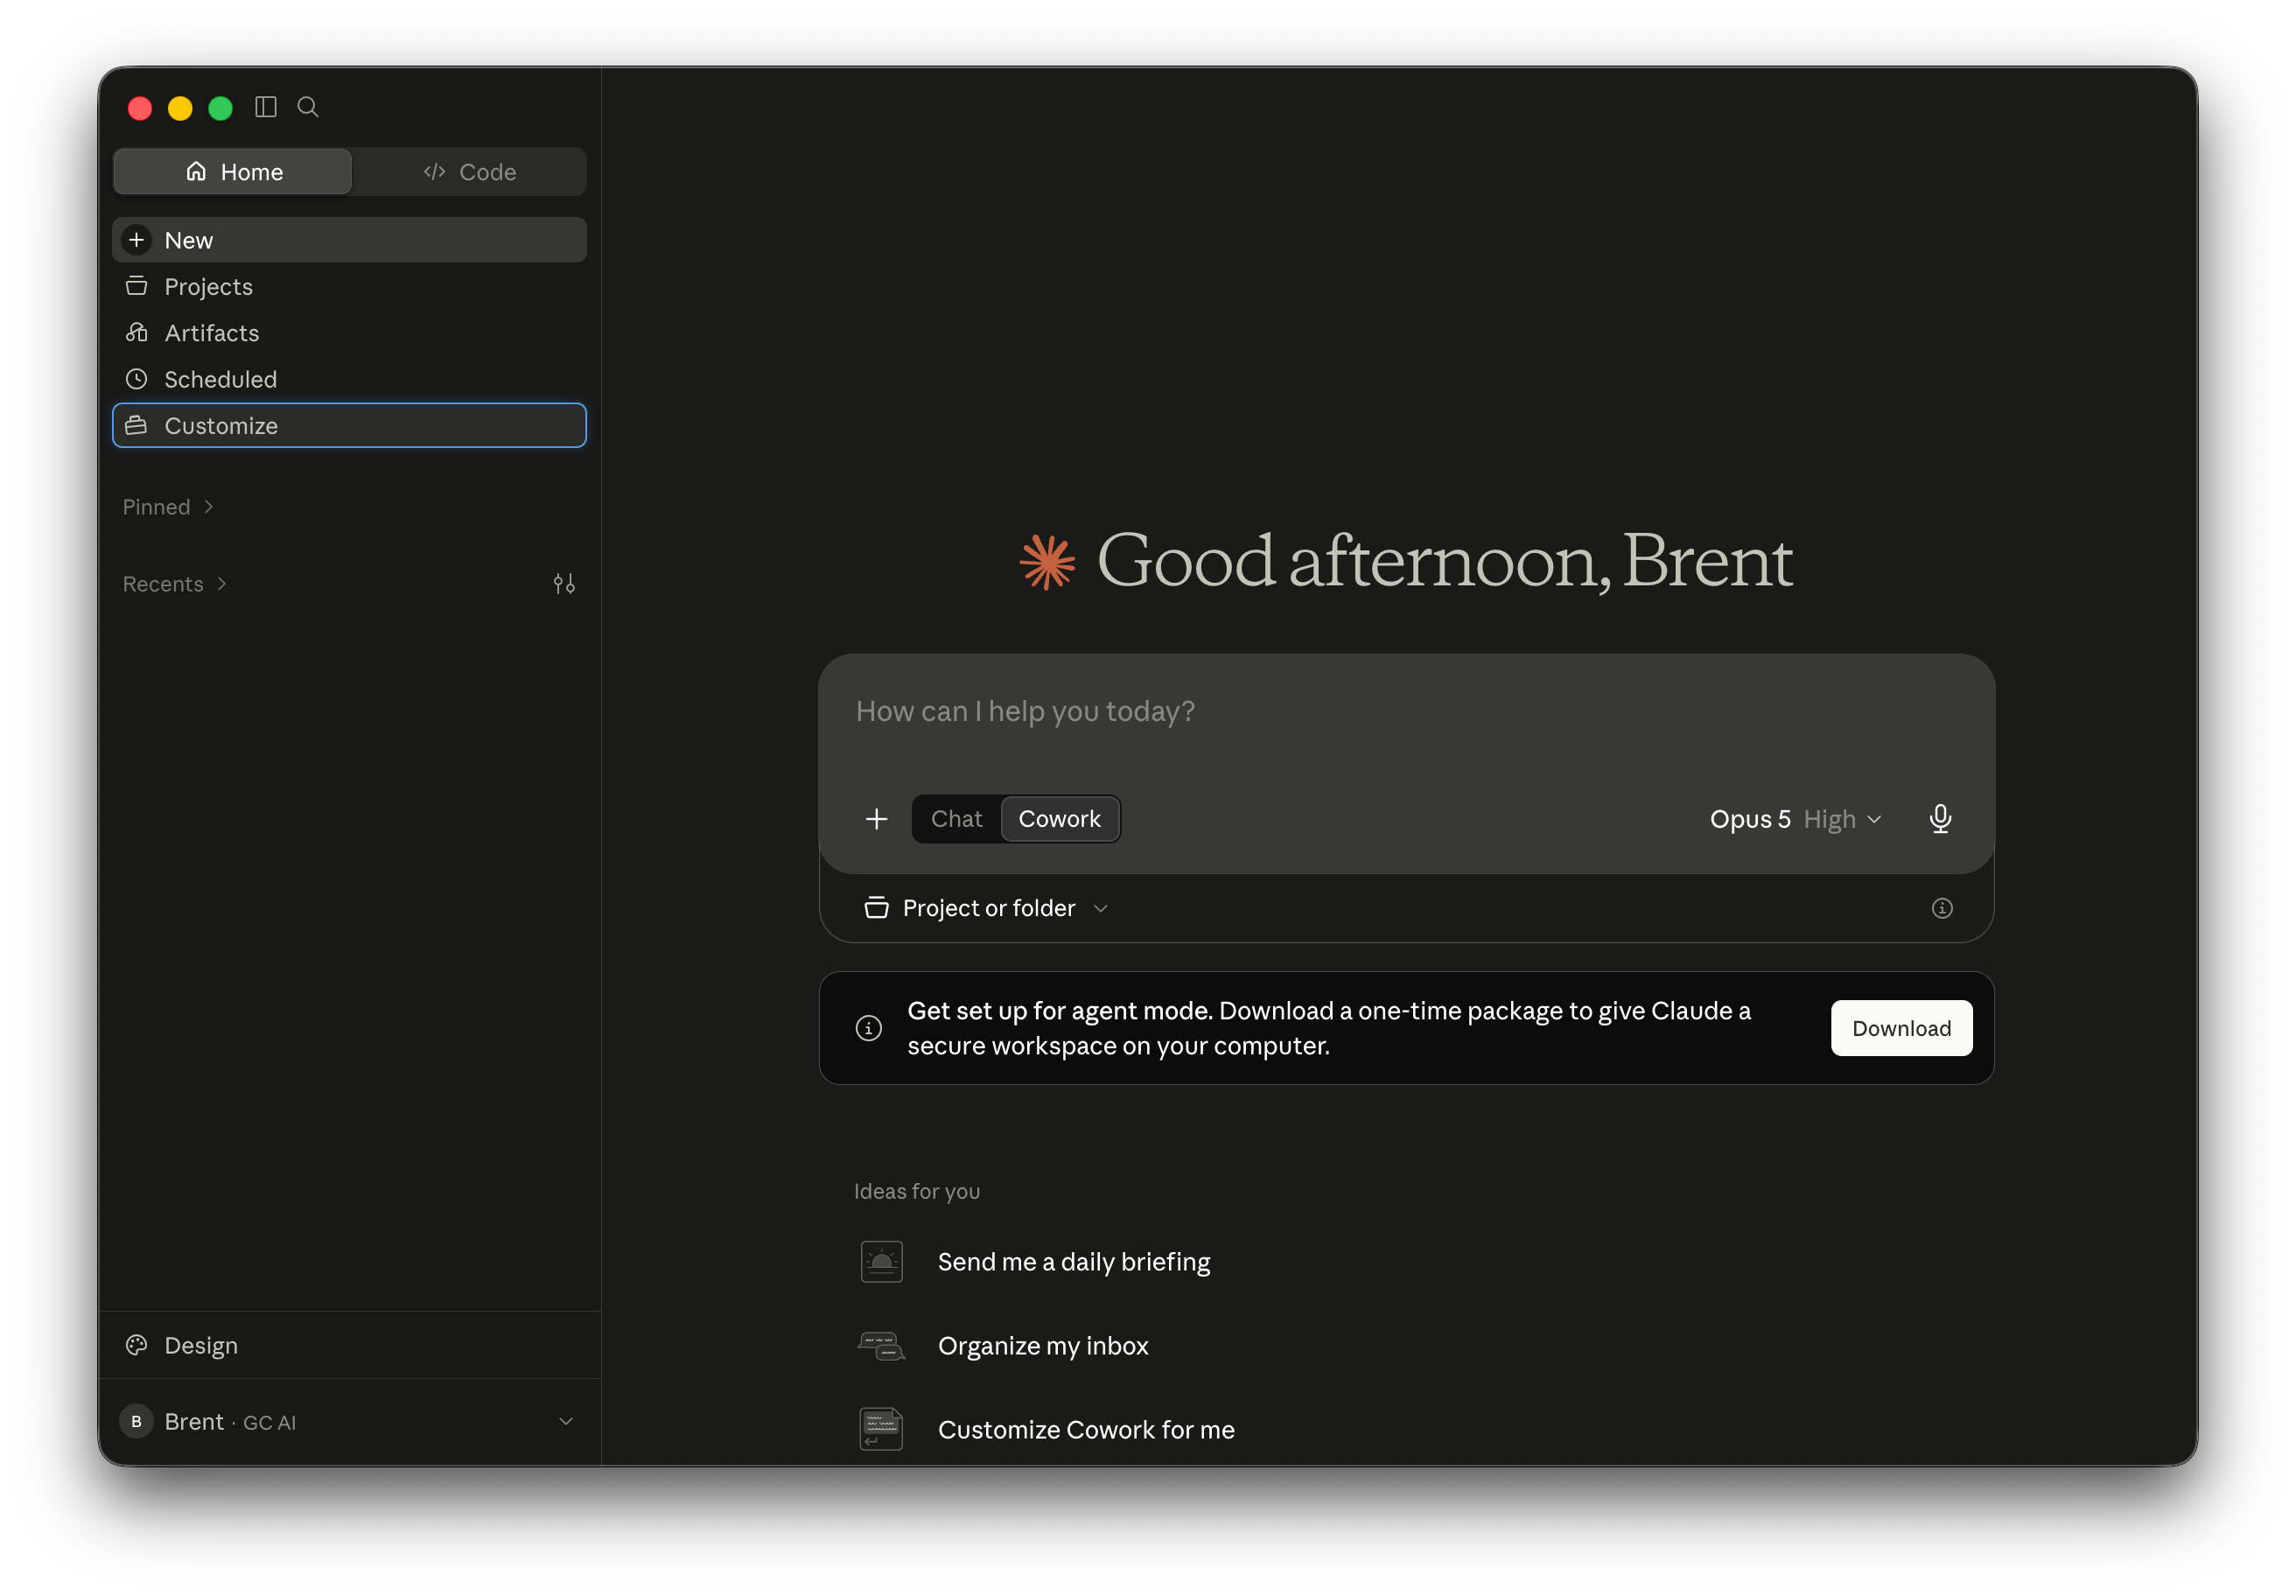
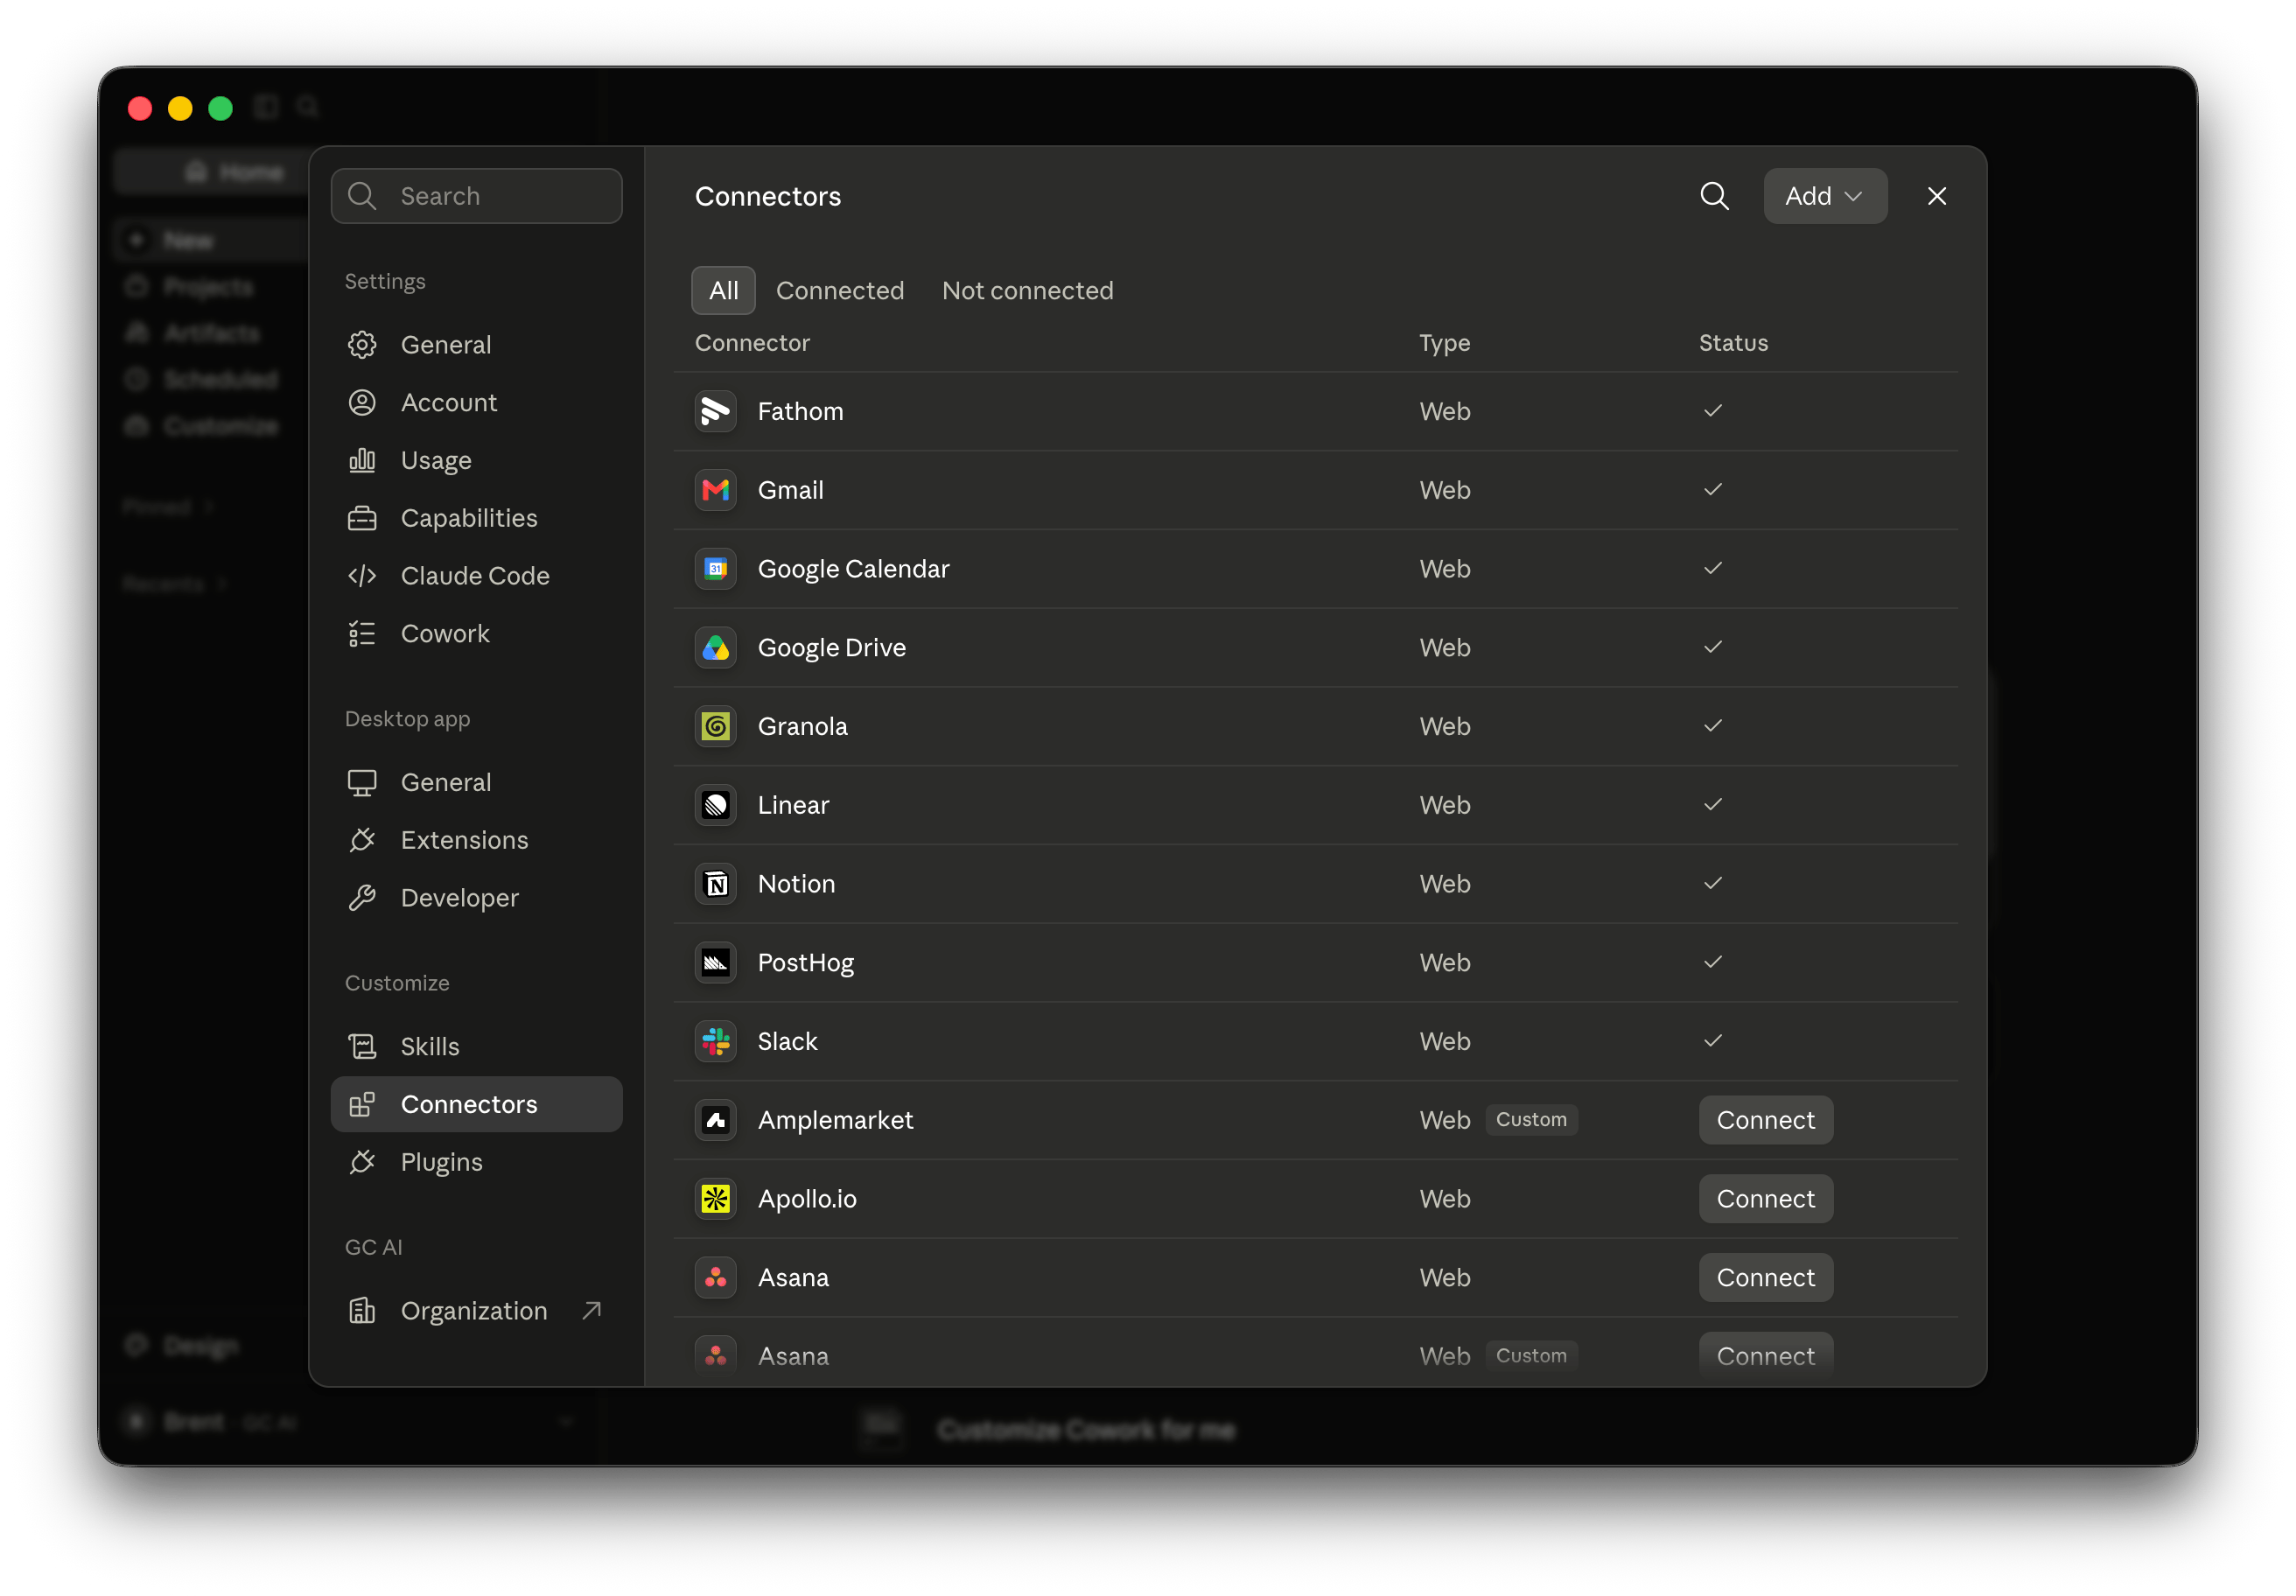
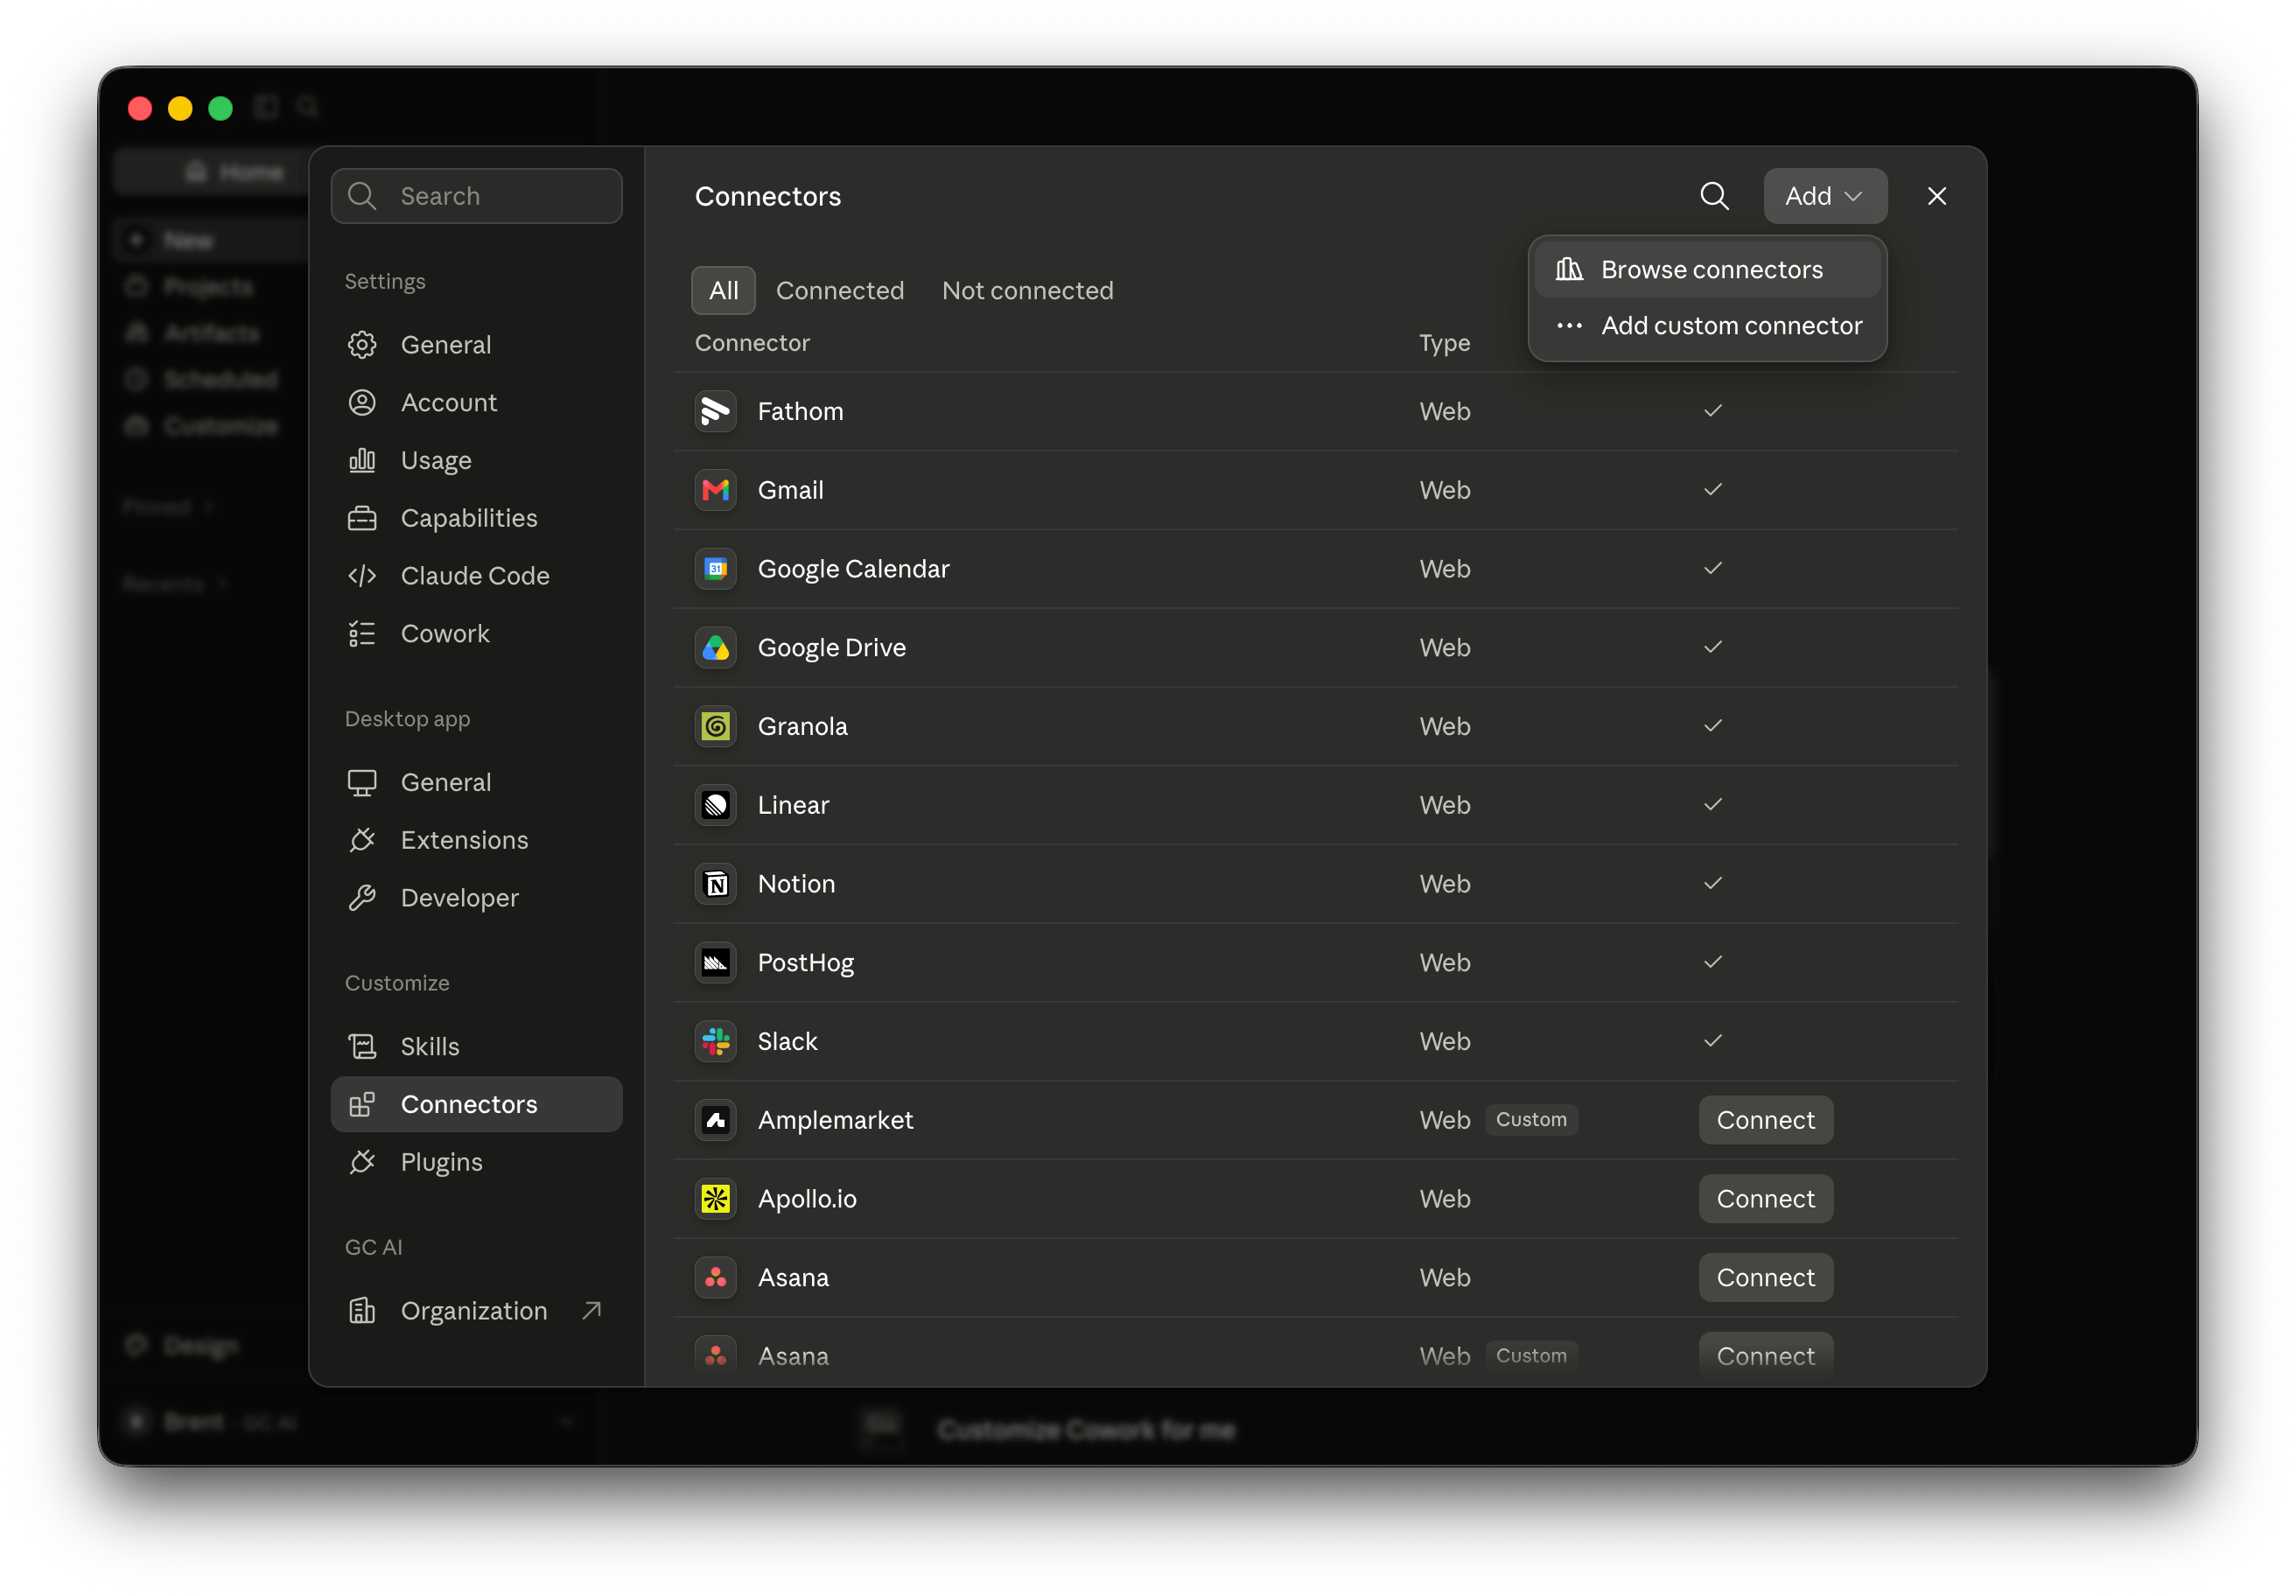
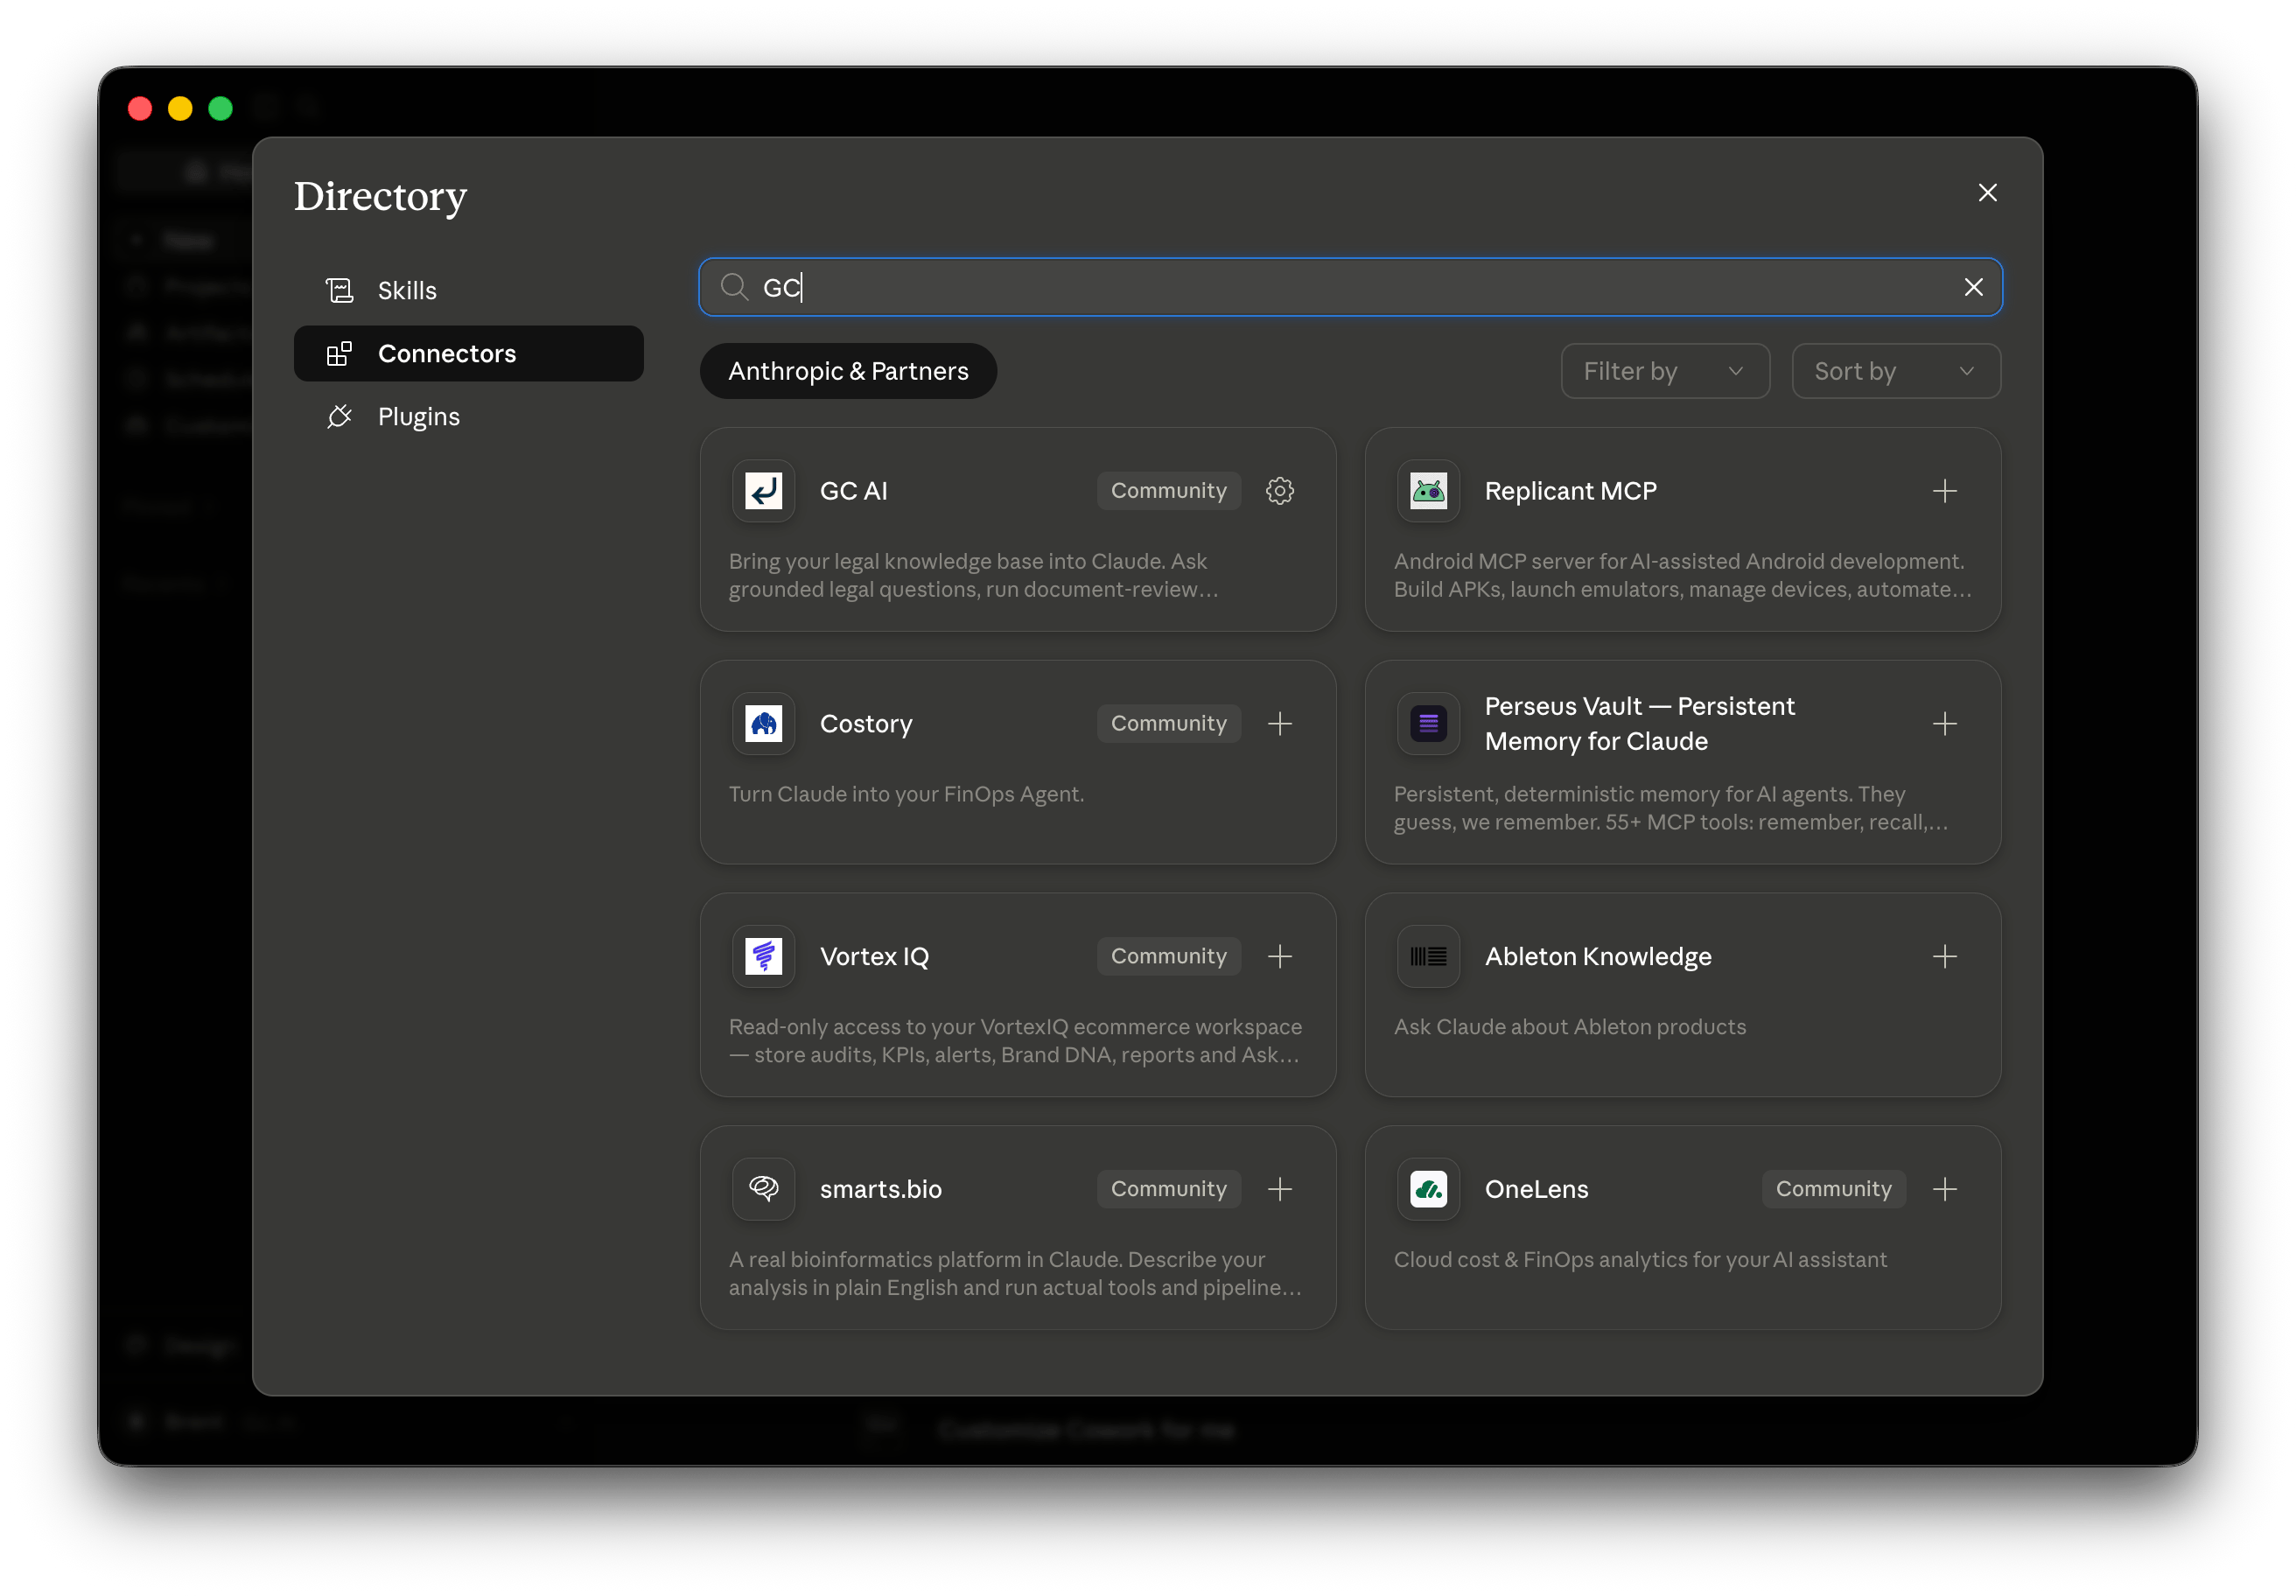
The exact menu labels vary by host and change over time. If you do not see a place to add a remote MCP server or connector, check that your plan supports custom connectors.
Verify the connection
Once connected, ask the assistant to run a quick read, for example: “List my GC AI projects.” That callsget_projects and confirms the tools are wired up and scoped to your account. From there the assistant can upload files, run playbooks, and ask questions grounded in your files.
Related
- MCP server overview: what the server does and how requests are scoped.
- REST API introduction: for backend integrations and scripts rather than assistants.